How to Install Cap Flashing on Calgary Roofs
The residents of Calgary are more than familiar with rain and snow. While a fun snow day or a walk in the rain is a pleasant experience for most of us, business owners are often concerned about water damage to their offices and facilities.
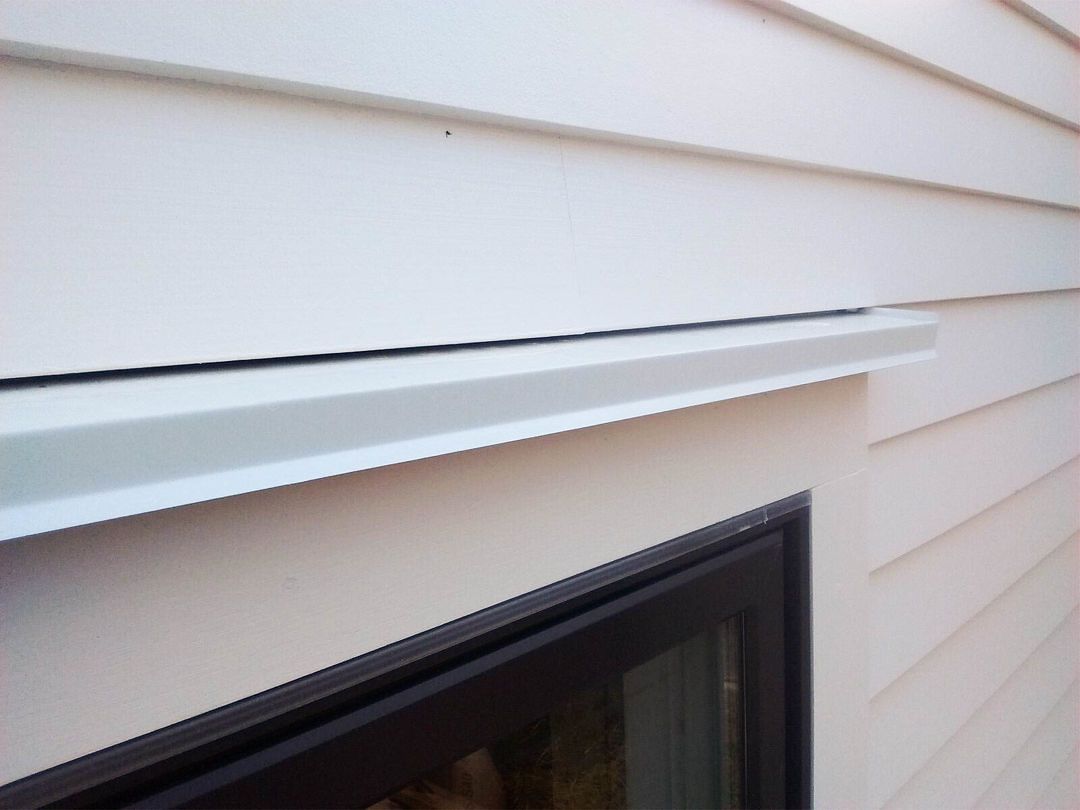
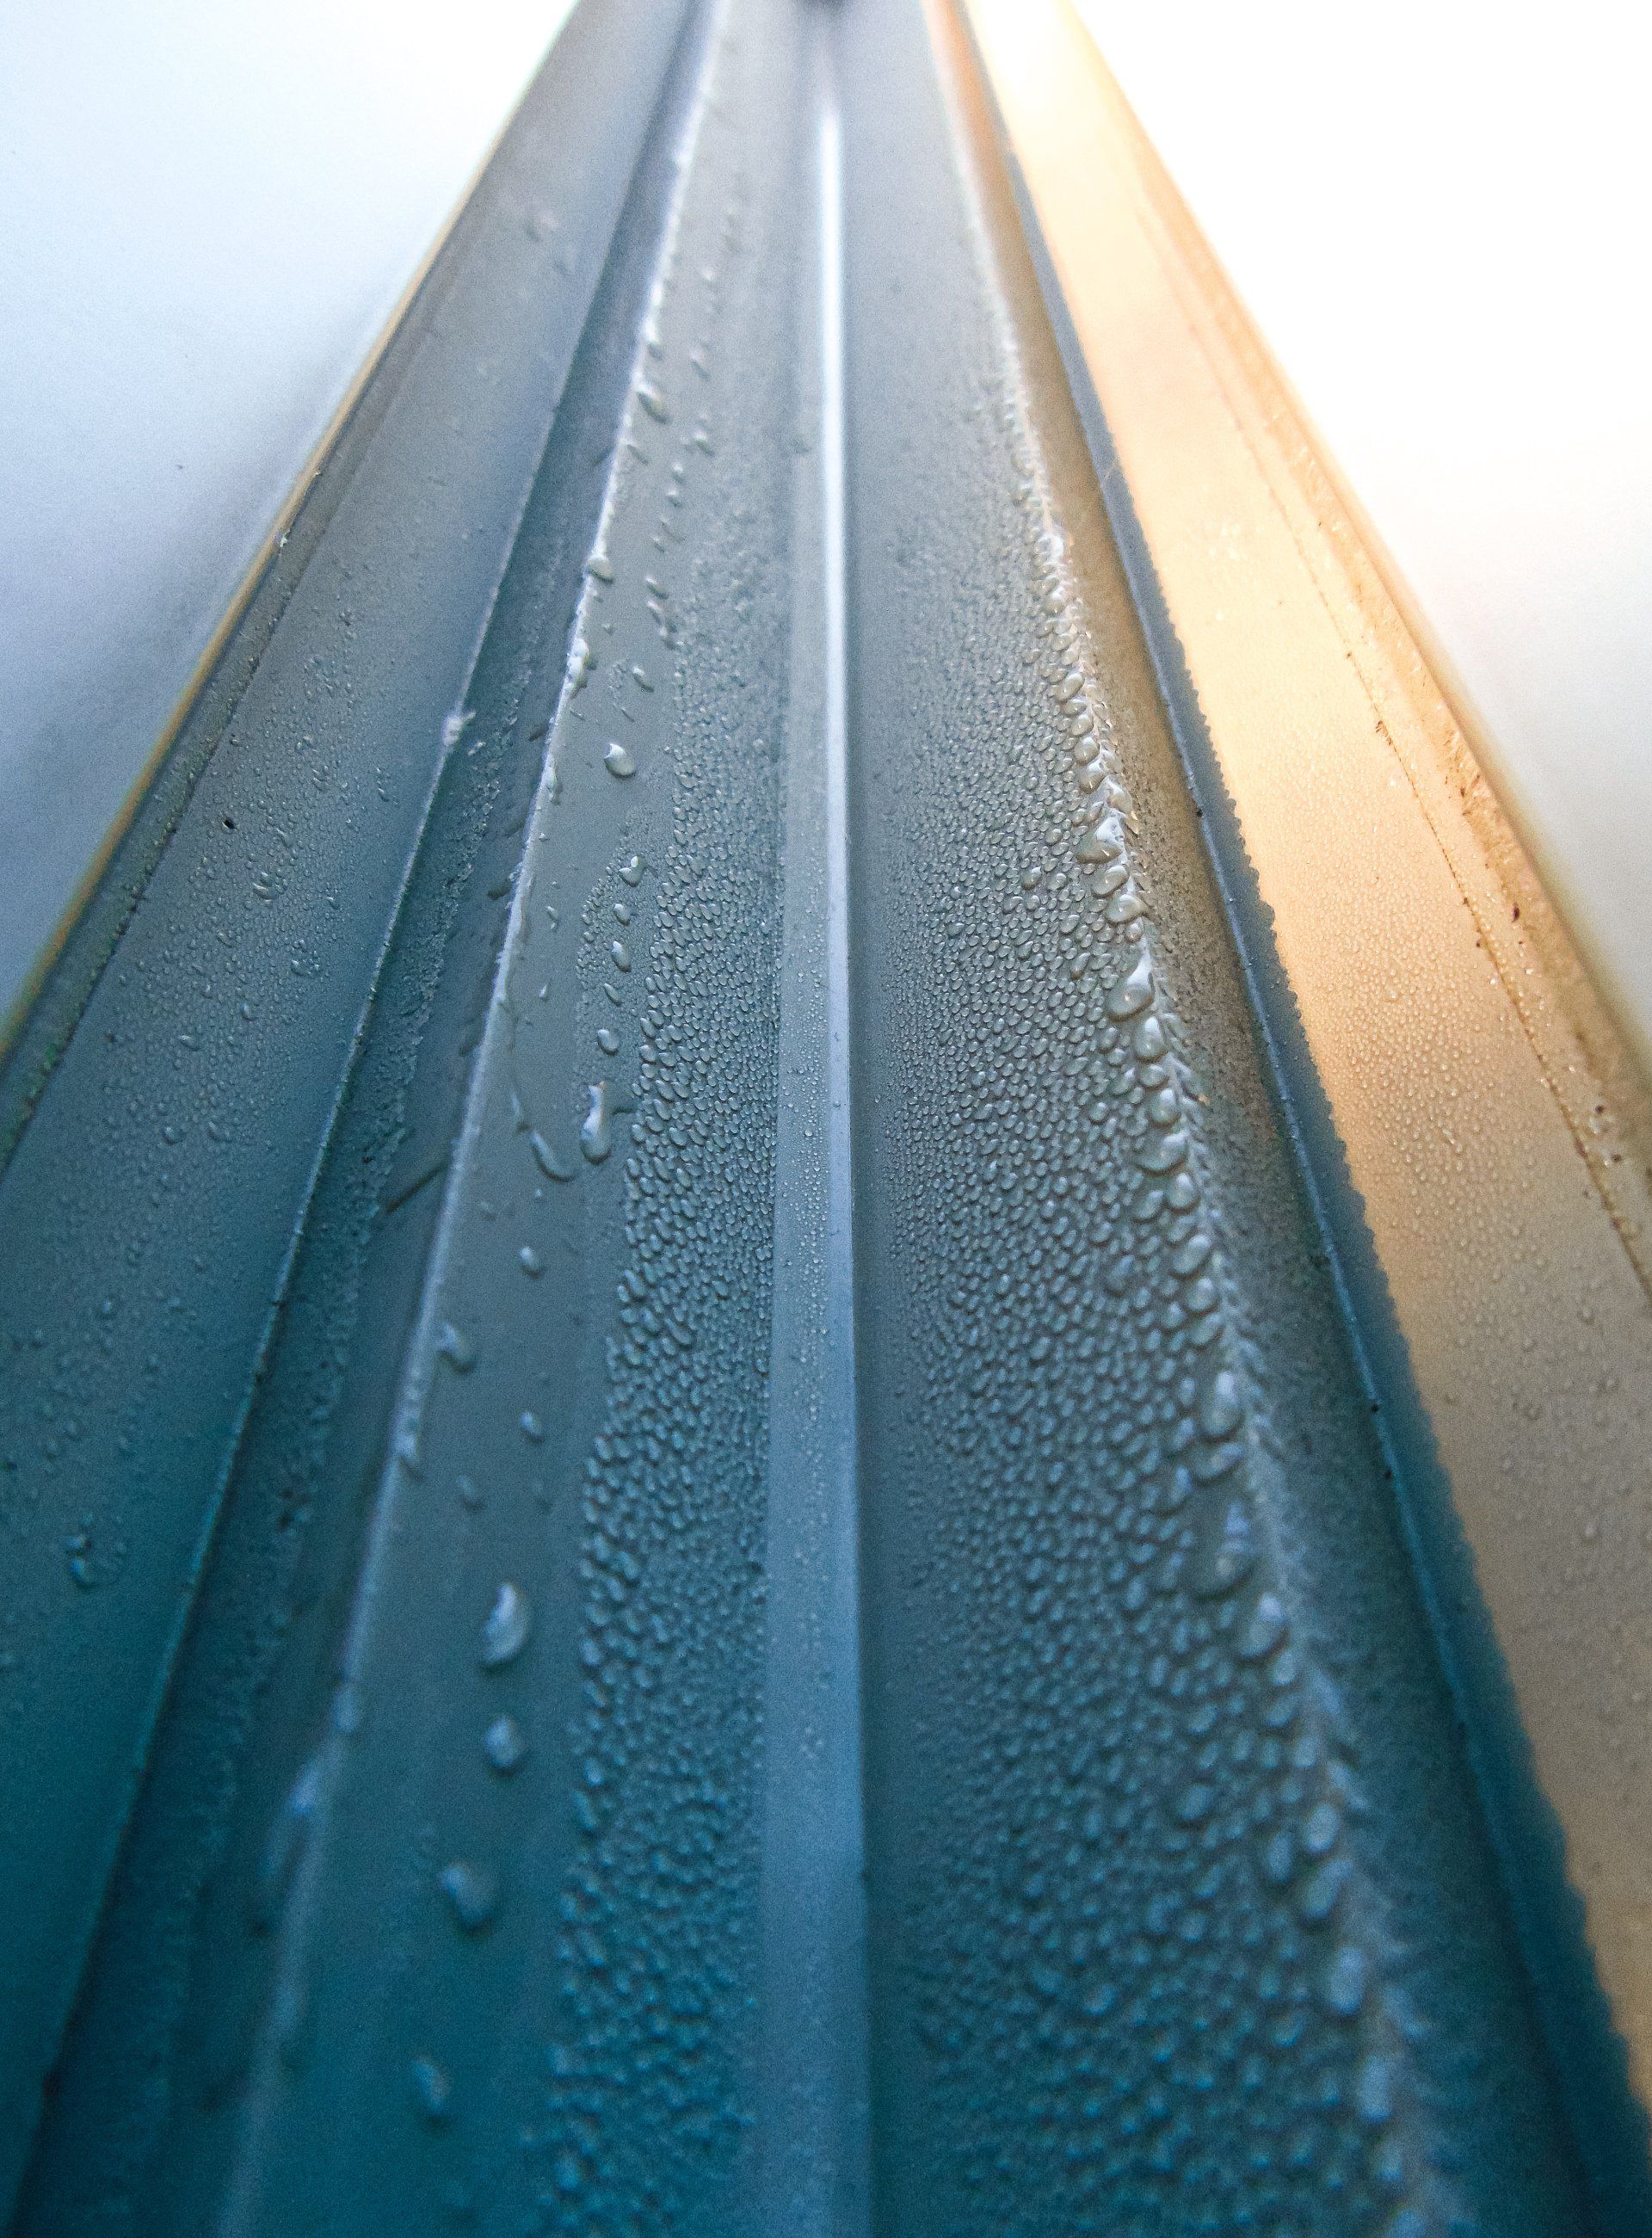
That’s a problem flashing solves. This water-resistant material prevents water from seeping into joints and other important parts of a building, especially around walls, windows, construction gaps, or when chimney cap flashing is damaged, allowing water to go into the building .
One specific type of flashing is cap flashing on roofs. Knowing why cap flashing matters and how to install it properly is an important skill for any facility owner, especially in the wet climate of Calgary.
Understanding Metal Roof Cap Flashing
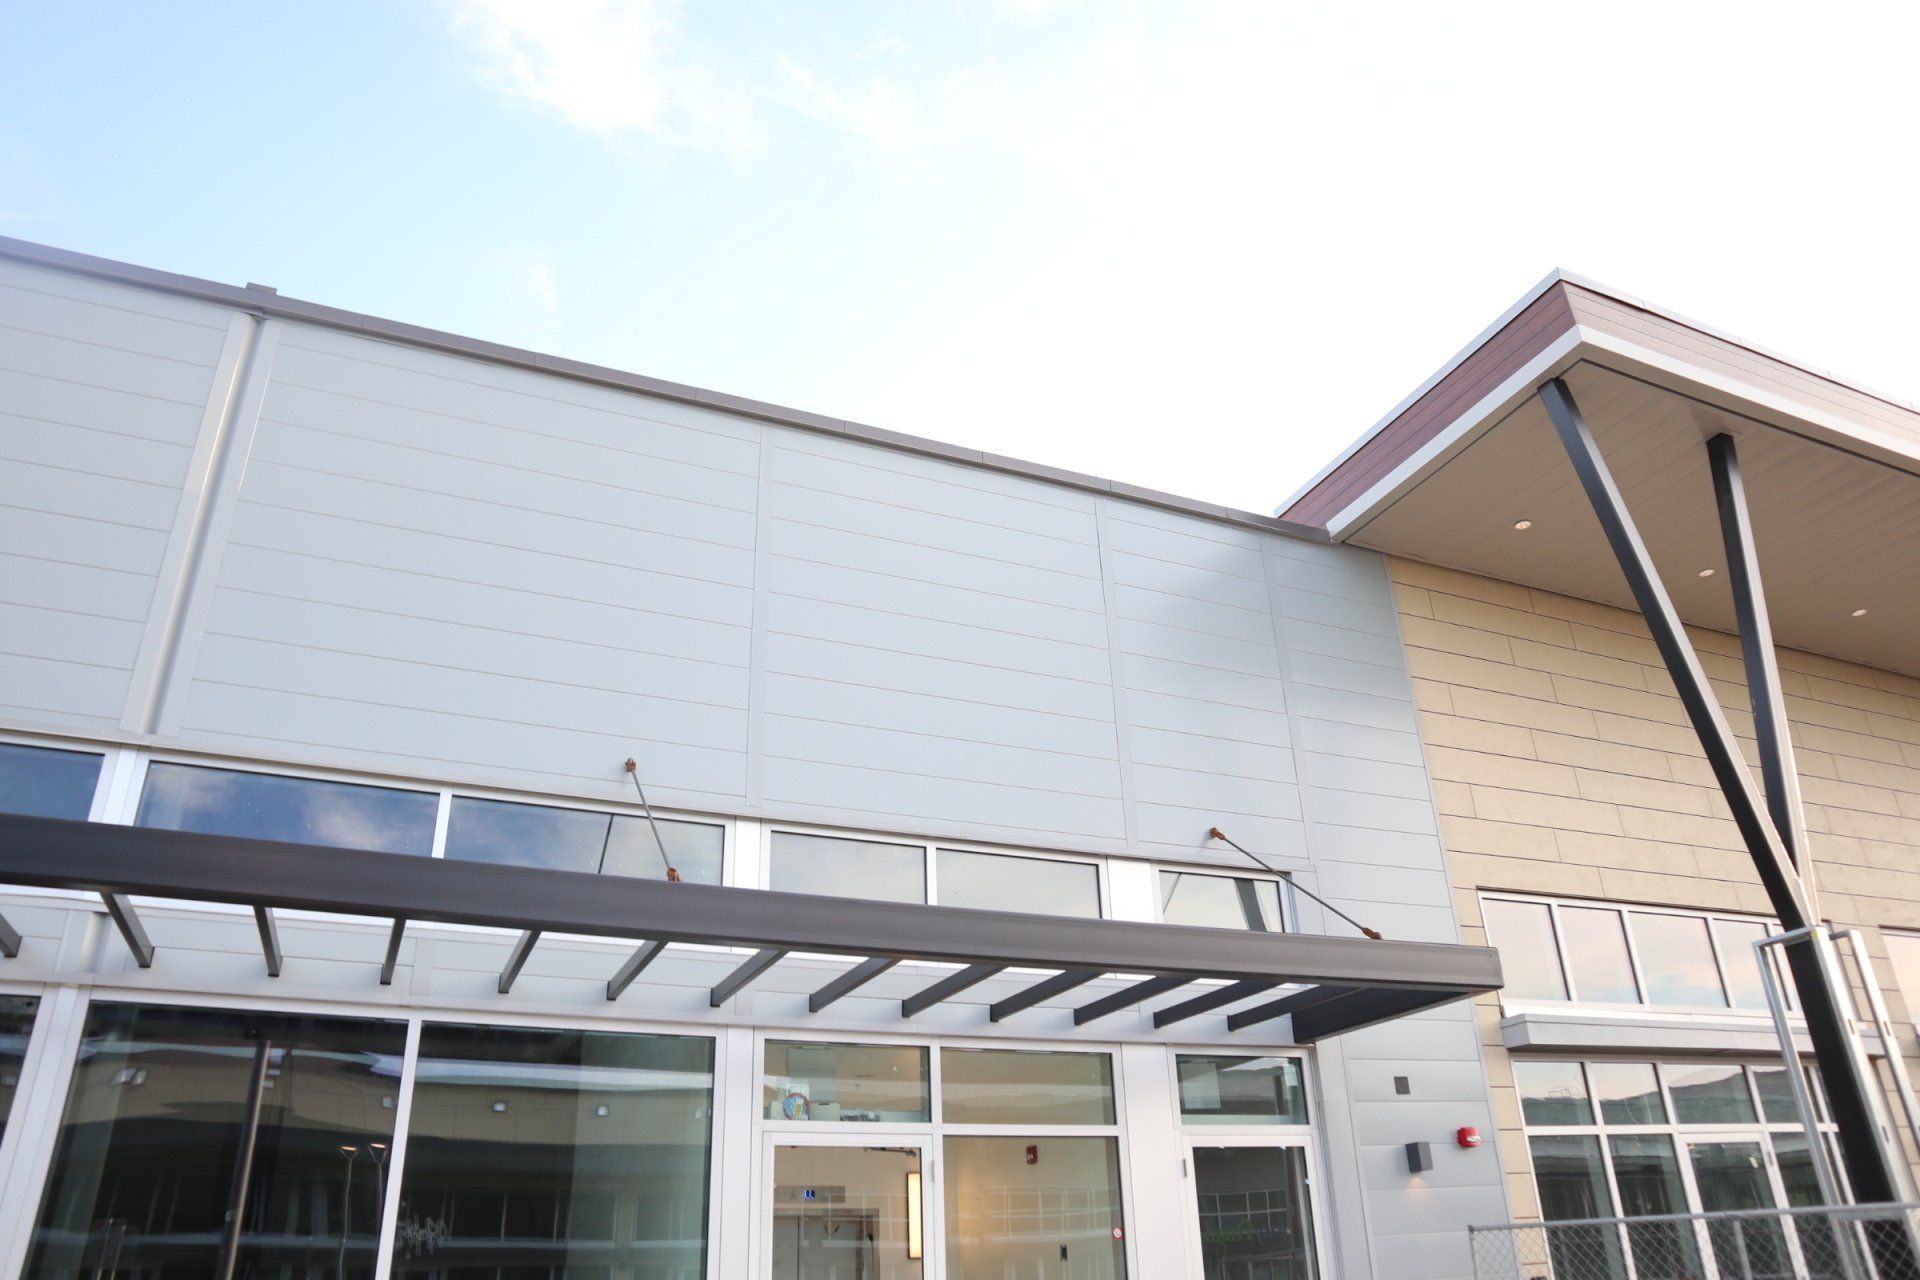
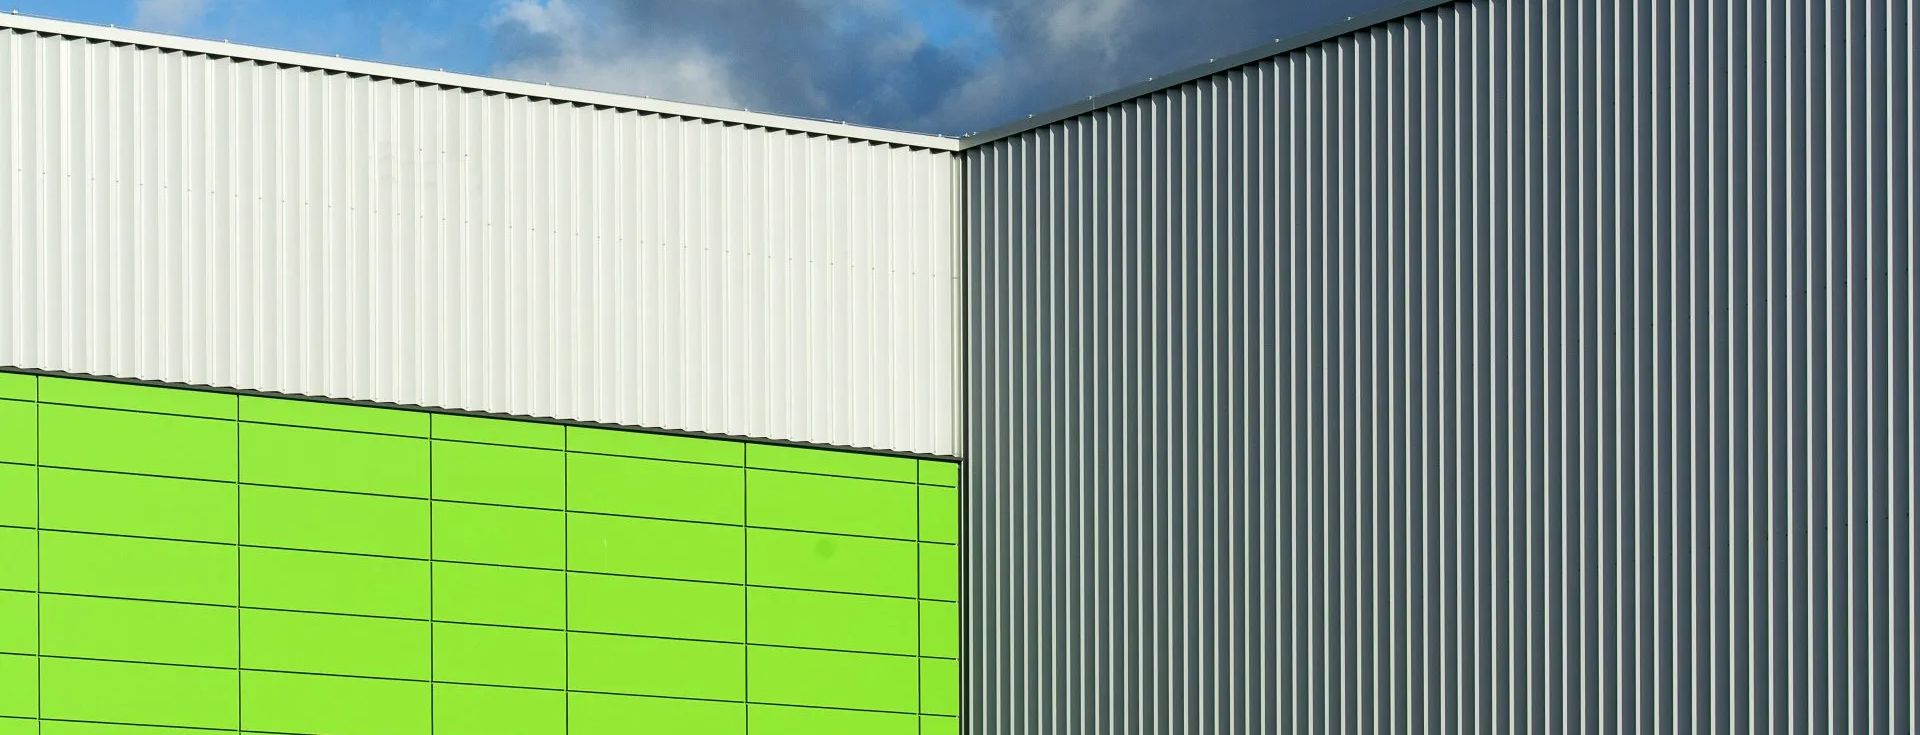
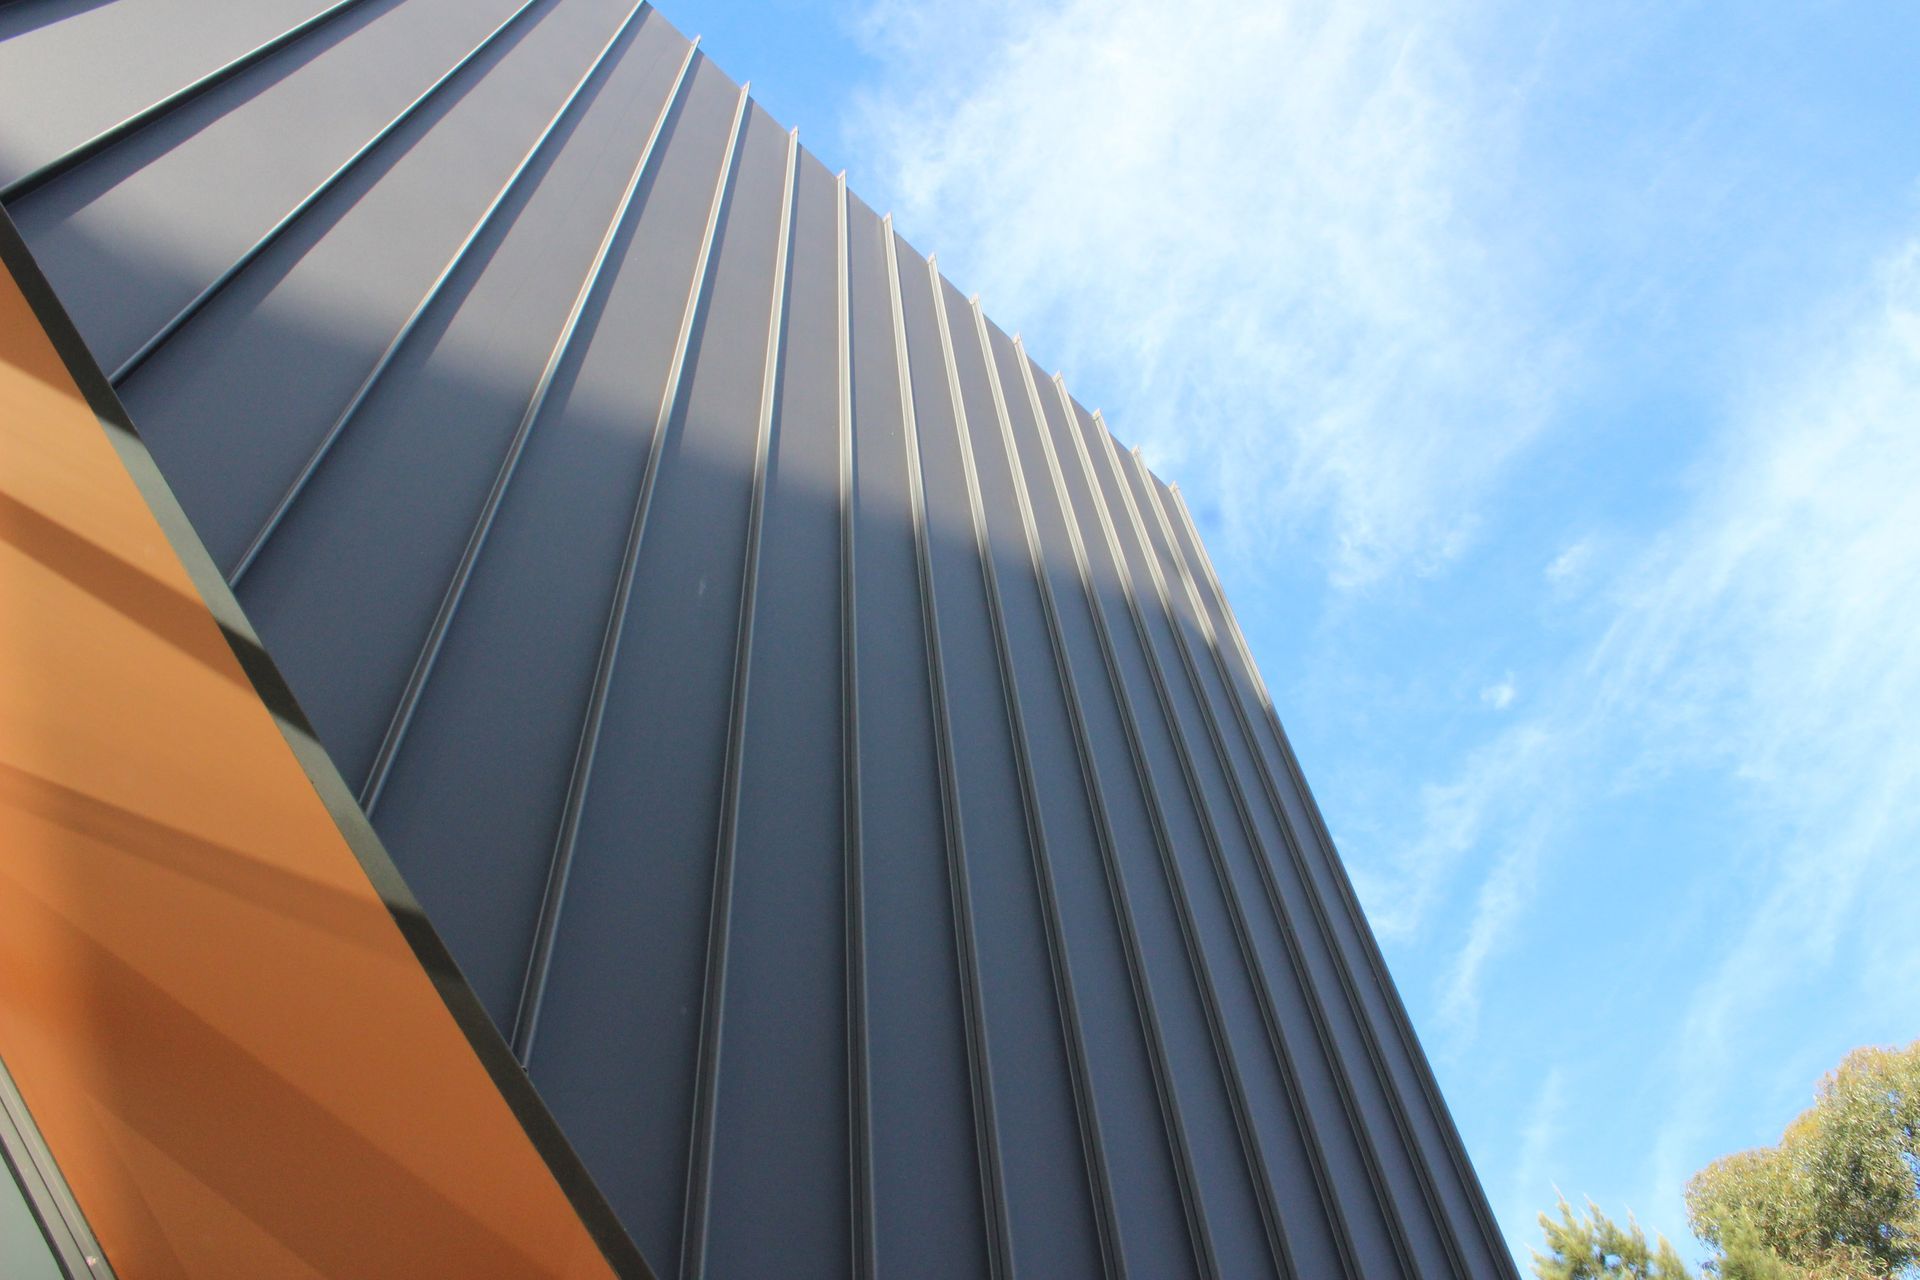
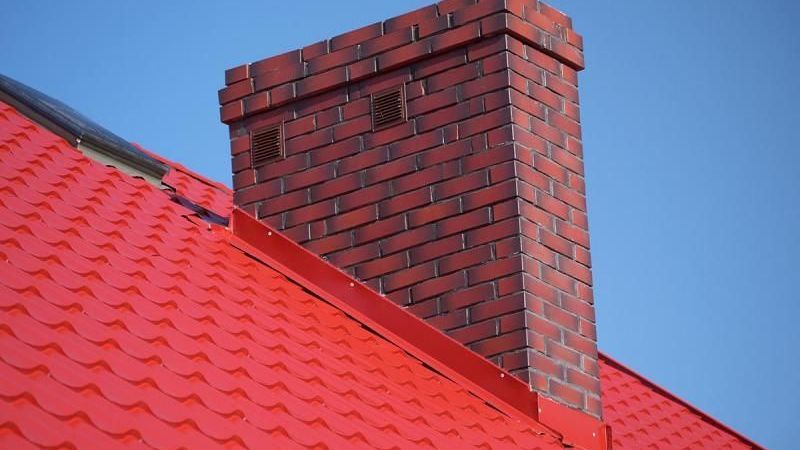
A flashing cap is a thin piece of metal that directs water away from specific parts of the roof. Caps are used in different types of roofs, and are common in any location where the roof meets a vertical surface, namely chimneys and skylights.
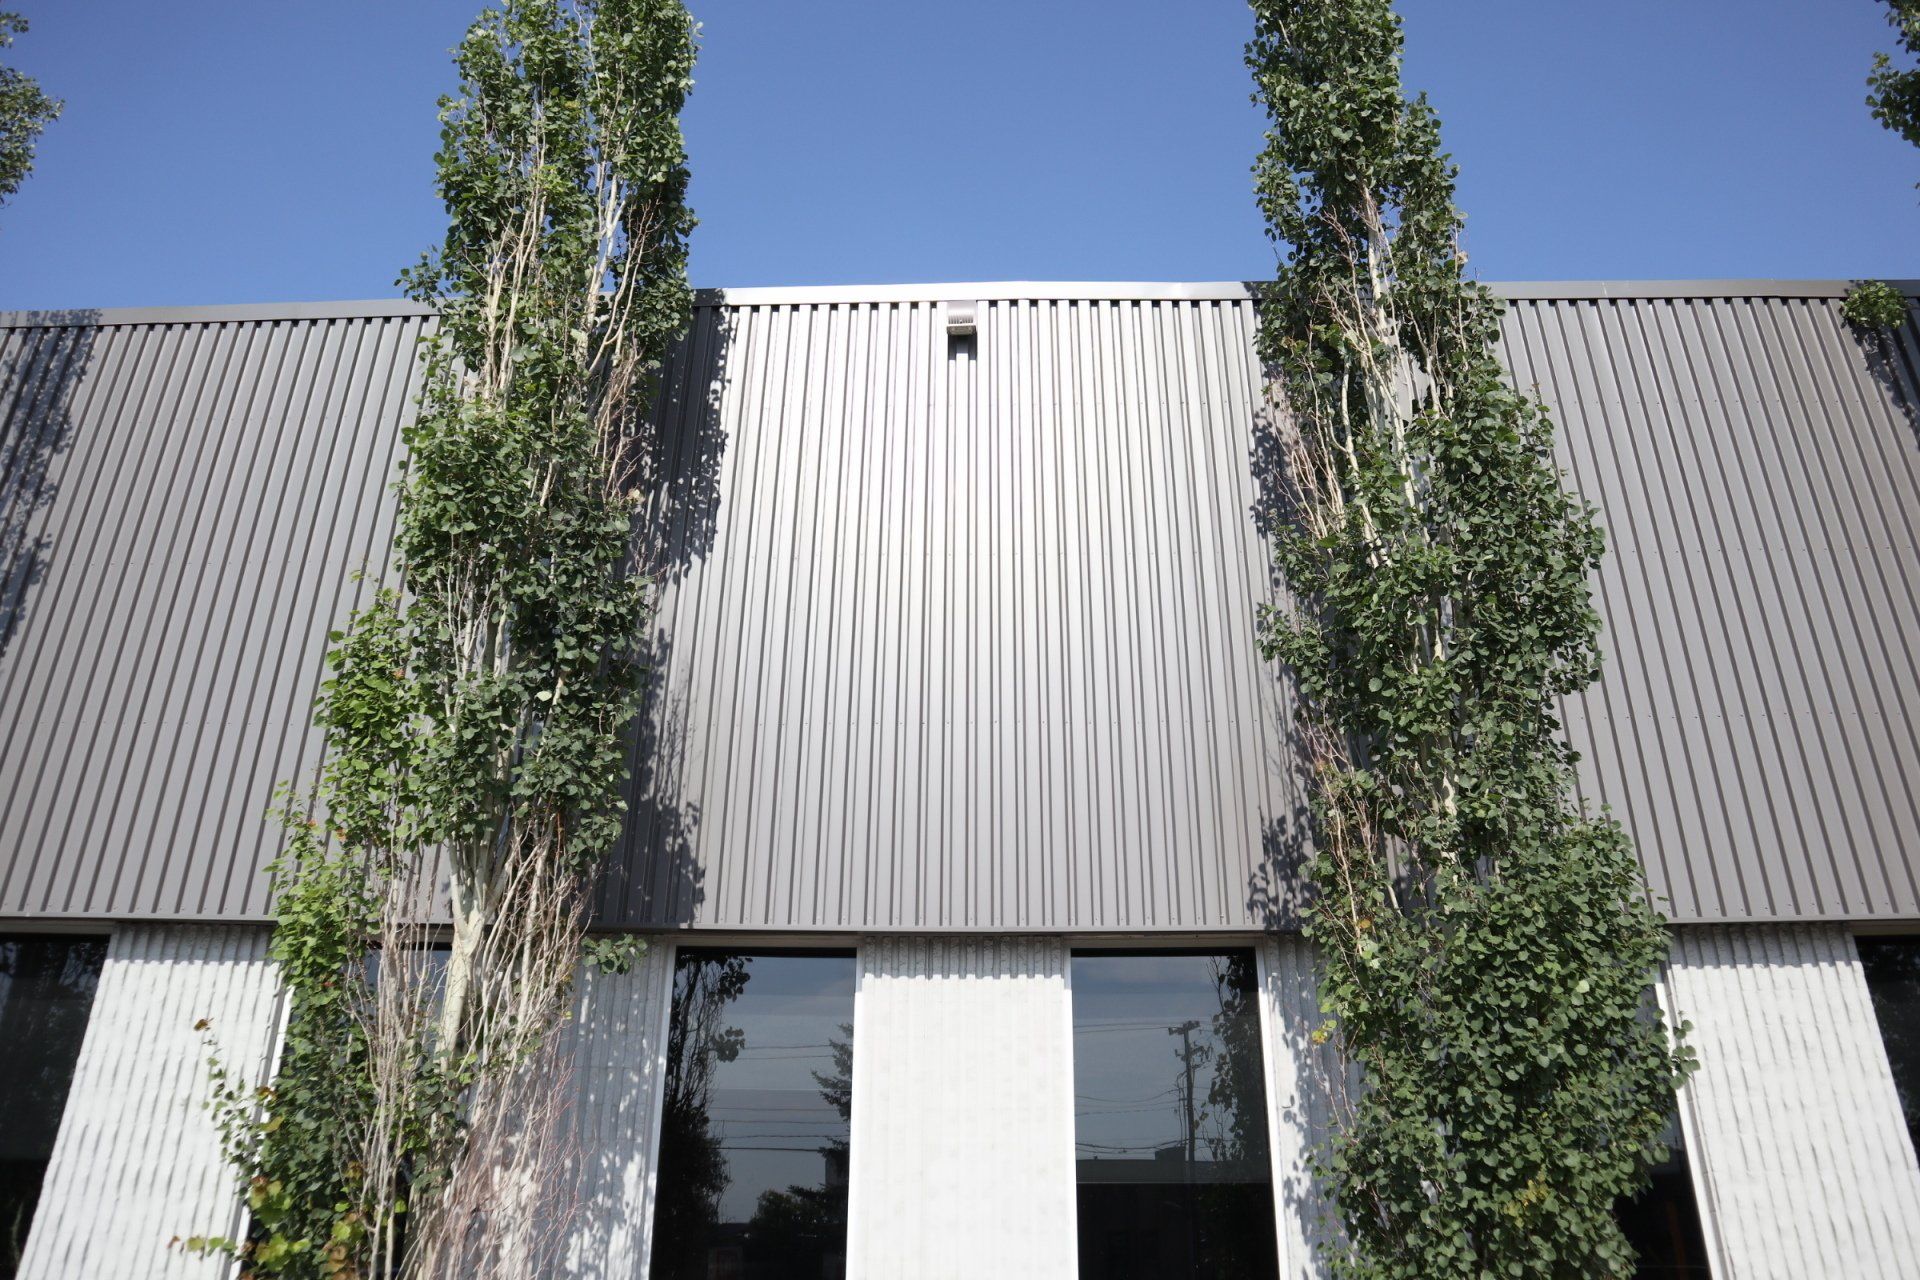
Metal roof contractors use metals like copper, aluminum, or stainless steel for drip cap flashing, when they install or repair metal roofs. Copper is one of the most popular options thanks to its strength and corrosion resistance.
If you want to learn more about the types of roof flashing, check out our post on Sheet Metal Flashing: Best Applications and the Importance of Weatherproofing
Tools and Supplies for Metal Flashing Installation
Installing flashing for a metal roof by yourself is an advanced project that takes around a day to complete, though you can save hundreds of dollars if you do it right. The tools and roofing materials you’ll need include:
- An extension ladder and safety harness to work safely
- A diamond blade, grinder, and tin snips for cutting
- Roof brackets and drive-in anchors
- Caulking material for filling the spaces around the edges of a window frame or chimney
- Galvanized sheet steel as the flashing material
- Roof membranes for low-slope or flat roofs
Step-by-Step Instructions for Installing Cap Flashing
The procedure for cap flashing is about the same as installing any other type of flashing. A general overview follows for a metal roof end cap flashing with a chimney.
- Chisel off the old flashing if necessary.
- If you are working on sloped roofs, first measure the slope, which will determine the type of flashing and membranes you might need to use.
- Cut the base flashing to fit onto your installation spot and install it.
- Install flashing around the corners using step flashing. When installing chimney flashing, apply caulking where the chimney meets the roof first.
- Nail the shingles on top of the step flashing, and install the chimney saddle.
- Cover the base flashing with front cap flashing.
- To secure the flashing properly, drill a hole through the metal and into the bricks of the chimney. Press anchors into the holes and hammer in the nail for a secure fit.
Metal flashing is a job that should be left to the professionals, especially for businesses with complex needs and large roofs.
Work with the Pros for Cap Flashing Installation and a Certified Sheet Metal Supplier in Calgary
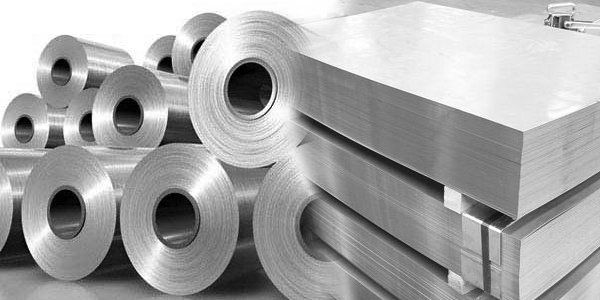
The primary metals used in roof flashing come from high-quality sheet metal, so your choice of supplier will significantly impact the quality of the final product. Choose well-fabricated metal flashing products from suppliers with experience in industrial or commercial applications.
For those serious about maintaining metal roofing in Calgary, get your free quote from Phoenix Metals today and see how we can help strengthen your metal roof over the long-term.